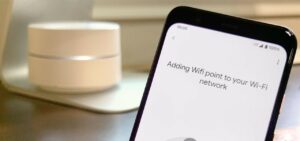
A Google Home may be a valuable personal assistant or link to all of your smart home gadgets.
When your computers are connected to your Google, you can control them all using the Google Home app or a few simple voice commands from your phone.
- Compatible with major cable internet providers including Xfinity, Spectrum, Cox and more. NOT compatible...
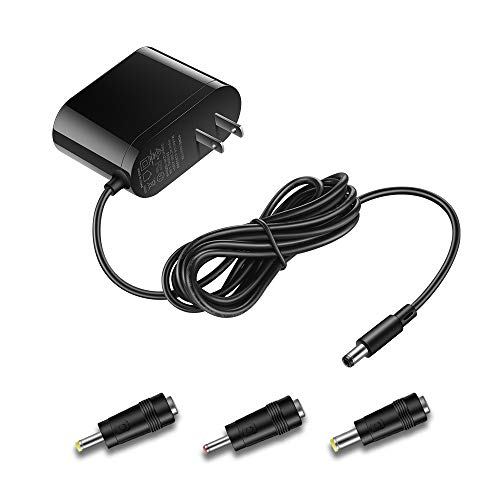
- [Compatibility] 12V Power Supply Adapter Compatible with Netgear, Linksys, Asus,Motorola, Motorola/Arris...
Your Google Home gadget must be connected to a functional Wi-Fi network to accomplish this. If you need to switch your Wi-Fi network, you may do it through the Google App.
But keep in mind that if you change the network on your Google Home, you’ll have to change the network on any Google devices linked to it. Read on further to find out how to change the Wi-Fi network of your Google speaker?
How to Change Wi-Fi Network on Google Home?
There might be numerous reasons to change your Google Home’s Wi-Fi network. These could be relocating to a new place or switching to a different Wi-Fi network.

If you have numerous networks available, you may wish to connect your Google Home to the one with the fastest Internet speed for optimal performance. Follow these steps to change your Wi-Fi network:
- Log in to the Google Home app with your iPhone or Android.
- Select your Google Home device by tapping on its name.
- In the upper right corner of the screen, tap the options button. It’s the gear-shaped one in the second row from the right.
- Choose “Wi-Fi.”
- It is necessary to select the “Forget This Network” option. You’ll be returned to the app’s main screen after that.
Now, you can follow the steps mentioned below to connect to your new Wi-Fi network.
How to Connect Google Home to Wi-Fi?
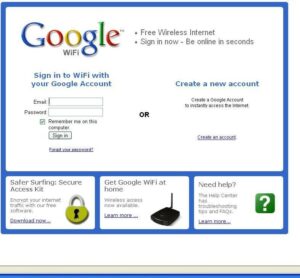
This should be relatively simple as long as you’re attempting to connect your device to the same network as your tablet or phone. When completing the instructions below, have your Wi-Fi password and username ready:
- Open the Google Home application.
- Choose or provide the Google account you want to link to your Google Home device.
- Activate Bluetooth on your iOS or Android smartphone if requested.
- The app should discover the Google Home gadget. Select the device once you see it on the screen.
- The speaker should produce a sound. Select Yes if you hear this
- Select your device’s location (like the room whose speaker you would like to connect, for example, your living room).
- Give your Google Home speaker a distinctive name.
- Choose the network you wish to connect to the Google Home device from the list of accessible Wi-Fi networks, then press Next.
- Once you have verified the Wi-Fi network password, click Connect.
- After a short interval, a successful connection notification will appear on your screen.
How to Change a Wi-Fi Network’s Password on Google Home?
In case you have changed your current Wi-Fi password, you may update the same for your Google Home Mini by following these steps:
- On your device, open the Google Home application.
- Choose ‘Wi-Fi’ and then ‘Show password.’
- Press the ‘Edit’ button.
- Change the password.
- Press the ‘Save’ button.
Google Home Won’t Connect to Wi-Fi. What’s the Solution?
The procedures above should allow your speaker to access your Wi-Fi network, but we’ve found that this isn’t always the case. If your Google Home is unable to access Wi-Fi, try the following steps:
- Try restarting your router and wait for 30 seconds.
- Reset the Google Home or Assistant-enabled gadget to factory defaults.
- Update your router’s firmware.
- Ascertain that your loudspeaker and phone/tablet are within range of the router.
- Make sure your smartphone or tablet is linked to the Internet as the speaker you’re attempting to connect to.
How to Change the Wi-Fi Connection of Google Home Mini?
You may change the Wi-Fi and check out a different network for your Google Home Mini gadget by following the instructions below:
- Open the Google Home device on your mobile or tablet.
- The setting symbol in a wheel format may be found in the upper right hand corner. Tap on it.
- Select the Forget Network option from the Wi-Fi settings menu.
- You’ll be sent to the Google Home app’s home page.
- Connect the Google Home Mini device to the app.
- Select the setup option.
- Select the Yes button if the Google Home turns on and makes a sound.
- Select your device’s location and hit the next button.
- Choose a new Wi-Fi network for the Google Home Mini device to connect to. Type in the password for the new Wi-Fi signal and click the ‘connect’ button to confirm it.
- Eventually, your Google Home Mini is linked to a new wireless network.
How Do I Reset My Google Home Mini?
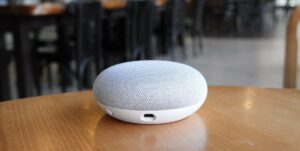
The best solution to fix the Google Home Mini’s Wi-Fi connectivity issues is to reset your device. You will be erasing your Google user credentials and the settings you added to Google Mini’s system by resetting its system.
There are two types of Google Home Mini available at the moment now. You’ll be able to use the proper ways for restarting your Google Home Mini if you know which version you have.
How to Reset Older Google Home Mini Model?
To reboot your Google Home Mini’s earlier model, follow these steps:
- On the back of your Google Mini speakers, near the power cable slot, you’ll find a reset button in the form of a small circle.
- Press and hold the reset button. After five seconds, your Google Home device would start the reset operation, declaring, ‘You are about to reset Google Home completely.’
- Hold the button down for another 10 seconds until you hear a sound that verifies the Google Home device is rebooting.
- Remember that you can’t reset the Google Home Mini device using your voice or the Google Home app.
Steps to Reset Newer Model of Google Home Mini
To reset your Google Nest Mini, follow these steps:
- There is a microphone switch on the speaker’s side that you should slide to turn off. The Google Assistant would indicate that the microphone has been turned off, and the LEDs on the speaker’s top cover will look orange.
- Hold down the speaker’s top center section. Your smartphone will proclaim that you will ‘fully reset the device’ after a few seconds. Continue to put your finger against the speaker.
- After ten seconds, you should let off your finger and allow the device to reset and resume on its own.
You can run into technical difficulties that prevent you from resetting your Google Home gadget. Thankfully, Google has established a backup mechanism that you may utilize to reset the devices in such scenarios.
- Remove the Google Home Mini device from the wall. Allow 10 seconds for the device to be unplugged.
- Pause for the top 4 LED lights to turn on after plugging in the device.
- Repeat the method ten times (unplugging, pausing, and plugging back in until the lights turn on). Make sure you complete tasks on time.
When you connect the device over the last time, you’ll notice that it takes longer to restart.
This is because the system will reset, and you’ll have to establish the parameters all over again when it restarts.
Effects of Changing Google Home Wi-Fi Networks
Your Google Home will still have normal function once you’ve changed the Wi-Fi network. There will be no issues with your Google Home connection caused by changing your Wi-Fi. You can continue streaming your music as you did before switching the Wi-Fi.
You may also use voice commands to establish reminders for significant dates and occasions. However, keep in mind that all devices linked to your Google Home must be on the same connection.
If you have multiple devices linked to an old Wi-Fi connection, you could have a problem. As a result, ensure the Wi-Fi connectivity on all connected devices matches another on your Google Home.
Conclusion
The Google Home gadget assists users in configuring and connecting all of their smart devices in their homes. Thousands of connected lights, cameras, speakers, and other devices can be readily controlled by a user. Finally, the device helps create reminders and keep track of recent events.
We hope all your queries are resolved, and you are able to use your google home speaker efficiently.


