Nowadays, connecting devices to Wi-Fi seamlessly is a necessity, and your Brother printer is no exception. Connecting your Brother printer to Wi-Fi can improve productivity and streamline your printing process, whether working from home.
Using wireless printing, you can print from any device connected to the same network, such as a laptop, smartphone, or tablet. So, in today’s post, we will show you how to connect Brother printer to Wi-Fi. The simple instructions below will help you print without tangled cords.
Why Should You Connect Your Brother Printer to Wi-Fi?
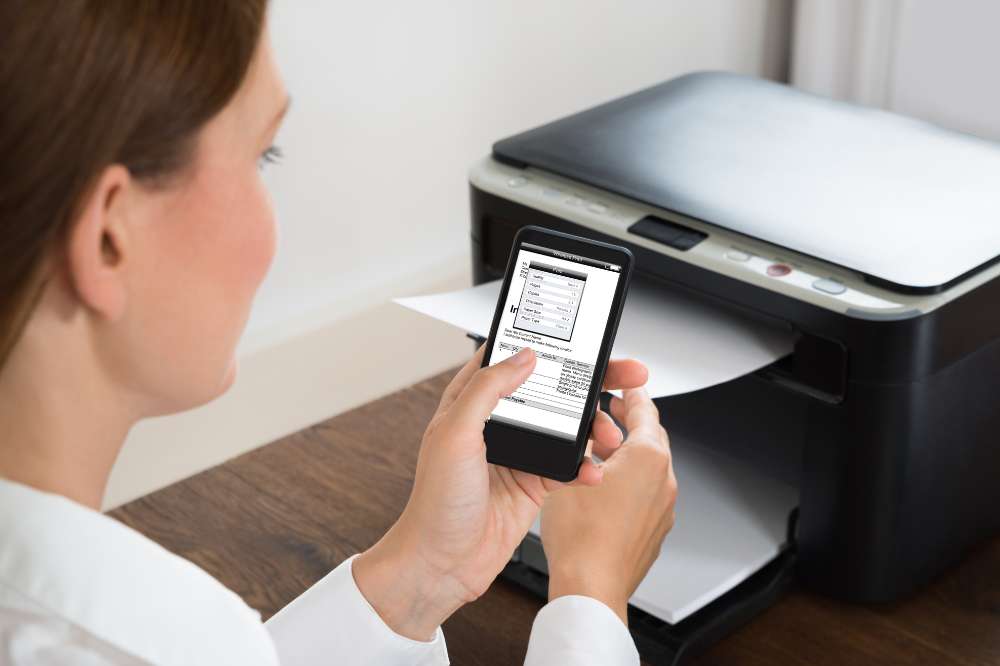
The following are some of the advantages of connecting your Brother printer to a Wi-Fi network:
- Compatible with major cable internet providers including Xfinity, Spectrum, Cox and more. NOT compatible...
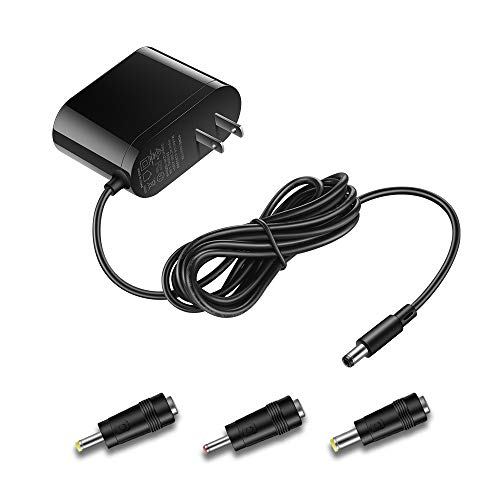
- [Compatibility] 12V Power Supply Adapter Compatible with Netgear, Linksys, Asus,Motorola, Motorola/Arris...
Convenience
Wireless connectivity offers unparalleled convenience for Brother printers. You can place your printer anywhere within Wi-Fi range without worrying about cables. You can put your printer anywhere it’s most convenient for everyone, whether in your home office, shared workspace, or common area.
Flexibility
With Wi-Fi connectivity, you can print from any device connected to the same network. You can send print jobs to your Brother printer from your laptop, smartphone, tablet, or desktop computer without a direct connection. You can remain productive no matter your location within the Wi-Fi network’s coverage area.
Multi-User Accessibility
WiFi-connected printers offer seamless accessibility to everyone in homes or offices with multiple users. You can print documents, photos, or other materials for family members, colleagues, or clients. Having this shared accessibility makes both professional and personal settings more efficient.
Your Brother printer will become more convenient, flexible, and accessible when connected to Wi-Fi.
How to Connect Brother Printer to Wi-Fi
You are now aware of the benefits of connecting your Brother printer to Wi-Fi. Here’s a step-by-step guide to connecting your Brother printer to Wi-Fi.
Preparing Your Brother Printer
It’s crucial to ensure your Brother printer is ready before connecting to Wi-Fi. Turn on your Brother printer by pressing the power button on its control panel. Once the printer is powered on, check the display or control panel for error messages or prompts. Addressing any issues at this stage will help streamline the setup process.
Additionally, ensure your printer has enough ink and toner to avoid interruptions while setting up. Clear any paper jams or obstructions inside the printer before proceeding.
Finally, you’ll need the Wi-Fi network name (SSID) and password to connect your Brother printer to the Wi-Fi network. These steps will ensure your Brother printer is ready for seamless Wi-Fi setup and printing.
Connecting to Wi-Fi
Once your Brother printer is ready, you can connect it to your Wi-Fi network. The following steps will help you establish a wireless connection:
Access Wi-Fi Setup Wizard
Navigate to the network settings menu on your Brother printer’s control panel. You can access the Wi-Fi setup wizard by selecting an option labeled “Wi-Fi Setup,” “Network,” or similar.
Select Wi-Fi Network
Within the Wi-Fi setup wizard, your printer will detect available nearby Wi-Fi networks. Locate and select your Wi-Fi network from the list of available networks. Ensure your printer is within range of your Wi-Fi signal if your network is not listed.
Enter Wi-Fi Password
Upon selecting a Wi-Fi network, you will be asked to enter the network password (the Wi-Fi passphrase or security key). Use the printer’s control panel or display to input the password accurately. It is essential to enter your Wi-Fi password correctly since it is case-sensitive.
Confirm Connection
Once you’ve entered the Wi-Fi password, proceed to confirm the connection. With the provided credentials, your Brother printer will attempt to connect to the Wi-Fi network. The printer may take a few moments to establish a secure connection.
Verify Connection Status
When your printer attempts to connect, it will display a message indicating the status of the connection attempt. The printer will display a confirmation message if the connection is successful. You have now successfully connected your Brother printer to your Wi-Fi network.
Follow these steps to connect your Brother printer to your Wi-Fi network, enabling seamless wireless printing from any device on the same network. You’re now ready to enjoy the convenience and flexibility of wireless printing with your Brother printer.
Install Printer Drivers
After connecting your Brother printer to your Wi-Fi network, ensure your devices have the necessary printer drivers installed for seamless printing. You can install Brother printer drivers on your respective operating systems by following these instructions:
For Windows
- Visit Brother’s Support Website: Open your web browser and navigate to the official Brother website’s support section.
- Search for Your Printer Model: Enter your Brother printer model into the search box or browse the website to find the support page.
- Download Printer Drivers: Find the drivers and download section on the support page for your printer model. Choose your operating system (e.g., Windows 10) and download the appropriate printer drivers.
- Run the Installer: After the driver download is complete, locate the downloaded file and run the installer. Follow the on-screen instructions to complete the installation process.
- Restart Your Computer: Restart your computer after installing the printer drivers to ensure the changes take effect.
For macOS
- Navigate to the official Brother website’s support section using your web browser.
- To find the support page for your Brother printer model, use the search function or browse the website.
- Find the drivers and downloads section on the support page for your printer model. Please select your macOS version and download the appropriate printer drivers.
- Once the driver download is complete, locate the downloaded file (usually a .dmg file) and double-click it to mount it. Follow the on-screen instructions to install the printer drivers.
- Restart your Mac once the printer drivers have been installed.
Installing the necessary Brother printer drivers on your devices ensures smooth operation and compatibility. After installing the drivers, you can test the connection and print documents, photos, and other materials.
FAQs
Why is my Brother printer not connecting to my Wi-Fi?
Several things can cause your Brother printer to not connect to your Wi-Fi network. Here are some reasons why your Brother printer won’t connect to Wi-Fi:
- Incorrect Network Credentials: If the SSID (Wi-Fi network name) and password on the printer are wrong, the printer won’t be able to connect.
- Weak Wi-Fi Signal: If your Brother printer is too far from the Wi-Fi router or physical obstructions are blocking the Wi-Fi signal, it may not be able to connect.
- Network Compatibility Issues: Some Brother printers may only support specific Wi-Fi networks (e.g., 2.4 GHz or 5 GHz). It may not work if your printer and Wi-Fi network aren’t compatible.
- Router Configuration Issues: A router configuration issue such as MAC address filtering or security protocols can prevent the Brother printer from connecting to Wi-Fi.
- Network Overload: High network traffic or too many devices connected to your Wi-Fi network could prevent your Brother printer from connecting.
- Printer Firmware Issues: Brother printers with outdated firmware may have bugs or compatibility issues that prevent them from connecting to Wi-Fi.
- Hardware Malfunction: Sometimes, the Brother printer won’t connect to the Wi-Fi network because of a faulty Wi-Fi adapter or antenna.
How to find printer IP address?
Follow these steps to find your printer’s IP address:
- Open your printer’s Control Panel.
- Go to Settings.
- Click on Wireless Settings.
- Print a page called Network Configuration, which will contain your printer’s IP address.
Using these steps, you can quickly find the IP address of your printer and configure it for network printing.
Do printers automatically connect to Wi-Fi?
It is easy to establish a wireless connection when your printer and router both support WPS push-to-connect. Within two minutes, press the WPS button on your printer and then the WPS button on your router. It will automatically initiate the connection between the two devices. However, some older wireless printers may require setup through a computer before they can connect.
How does a wireless printer work?
A wireless printer, also known as a Wi-Fi printer, can easily connect to a network without requiring physical cables. Any computer, smartphone, or tablet connected to that network can print to the printer as soon as a wireless printer connects to a Wi-Fi network. It offers enhanced flexibility and convenience in printing from various devices in the network without requiring direct connections.
Are printers Bluetooth or Wi-Fi?
Wi-Fi and Bluetooth are the two main types of wireless printing. Bluetooth technology uses low-power wireless networking technology to connect devices within a short distance, usually about 10 meters away. Although most modern laptops have Wi-Fi and Bluetooth capabilities, older PCs may not.
The Takeaway
To wrap up, connecting your Brother printer to Wi-Fi offers unmatched convenience and flexibility. Following these steps, you can easily set up a seamless connection between your printer and Wi-Fi network. Please note that this guide only covers basic steps and that you can find more information on the Brother website. Depending on your operating system, the steps above may differ slightly.


