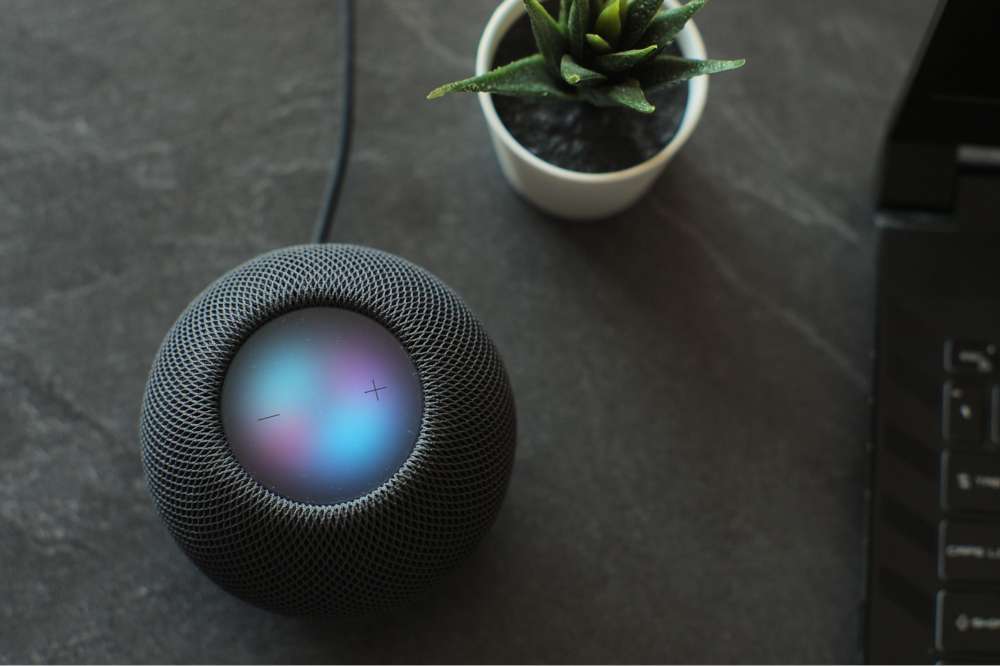
With HomePod, you’ll discover a world of seamless connectivity and immersive audio experiences. The key to unlocking its full potential is having a stable WiFi connection. If you’re upgrading your home network or moving your HomePod, you must know how to change its WiFi network. Therefore, this post will show you how to change HomePod WiFi easily.
We’ve got you covered on everything from connecting reliably to troubleshooting problems. So, if you’re ready to enhance the HomePod experience, learn how to set up WiFi connectivity.
How to Change HomePod WiFi

You can easily change the WiFi network on your HomePod using the Home app on your iOS device. You can seamlessly transition your HomePod to a new WiFi network by following these steps:
- Compatible with major cable internet providers including Xfinity, Spectrum, Cox and more. NOT compatible...
- [Compatibility] 12V Power Supply Adapter Compatible with Netgear, Linksys, Asus,Motorola, Motorola/Arris...
Launch the Home App
Start by opening the Home app on your iPhone or iPad to change your HomePod’s WiFi network.
Access HomePod Settings
In the app, locate your HomePod in the Home section or Rooms section. A yellow exclamation mark will appear if there is a problem with your WiFi network settings. You can access the settings of your HomePod by long-pressing the HomePod icon.
Review WiFi Network Issue
You’ll find details explaining the WiFi network issue in the HomePod settings. Scroll down to access additional options.
Initiate Network Change
Find the message indicating your iPhone is connected to a different WiFi network. A yellow hyperlink below this message will move your HomePod’s network. Tap on the “Move the HomePod to” hyperlink.
Wait for Update
It may take a few seconds for the HomePod to update its network settings. Once complete, everything in the music playback section should load successfully.
Congratulations! The WiFi network on your HomePod has been successfully changed. For setup, you must connect your HomePod to the same WiFi network as your iPhone or iPad.
This method is only for when you are having problems connecting to WiFi on your HomePod. The only way to change the WiFi network on HomePod is to factory reset it. Let’s take a look at how to factory reset your HomePod.
How to Factory Reset Your HomePod
You should only consider a factory reset if your HomePod is experiencing major connectivity issues. Resetting your HomePod erases all existing configurations and settings, so you must set it up from scratch.
Follow these steps to reset your HomePod directly from the device:
- Start by unplugging your HomePod from the power source and wait for about ten seconds.
- Plug your HomePod back into the power source after a few seconds.
- Press and hold the middle button on the top of your HomePod within five seconds of plugging it in.
- Hold the middle button until the light on the top of your HomePod turns red. It indicates that the device is entering reset mode.
- Continue holding the middle button until you hear three beeps. It signals that the HomePod is about to reset.
- You can release the middle button once you hear Siri confirming the reset process.
- You will hear a chime when the reset has been completed.
- Your HomePod must be set up again, including connecting it to your WiFi network and configuring any preferences.
How to Optimize HomePod WiFi Performance
Implement the following tips to ensure optimal WiFi performance and stability on your HomePod:
Optimal Placement
Place your HomePod in an area with minimal obstructions and interference from other electronic devices. Keep it away from large metal objects and dense walls that can interfere with WiFi signals.
Router Placement
You should place your WiFi router in a central location within your home to maximize coverage. Ensure the router is high and away from potential sources of interference, like microwaves or cordless phones.
WiFi Channel Selection
Using your router’s settings, select the WiFi channel with the least congestion. This method will make your HomePod’s WiFi connection more likely to be reliable and minimize interference.
Network Security
Secure your WiFi network with a strong password and encryption protocol (e.g., WPA2). It prevents unauthorized access and helps maintain the integrity of your HomePod’s connection.
Router Firmware Updates
Update your router’s firmware regularly to ensure compatibility with the latest WiFi standards and security protocols. You can check for updates through the router’s admin interface or the manufacturer’s website.
Mesh WiFi Systems
Invest in a mesh WiFi system to extend coverage and improve signal strength throughout your home. By connecting multiple access points using mesh networks, you can reduce dead zones and improve connectivity.
WiFi Extenders or Repeaters
Boost WiFi coverage in certain areas of your home with WiFi extenders or repeaters. You can strategically place these devices to extend coverage to areas where your HomePod is located.
Network Optimization Tools
Use network optimization tools or apps to analyze WiFi signal strength and identify potential interference sources. You can use these tools to make informed decisions about router placement and WiFi channel selection.
FAQs
Can HomePod connect to 5ghz?
Yes, the HomePod can connect to 5GHz WiFi networks. It supports 2.4GHz and 5GHz WiFi bands, giving you various connectivity options. Setting up or changing your HomePod’s WiFi network will detect and connect to both 2.4GHz and 5GHz networks. The dual-band capability makes it compatible with a wide range of WiFi routers and gives it optimal performance when streaming music.
How do I switch HomePod from one home to another?
To switch your HomePod from one home to another, follow these steps:
- Reset the HomePod: Before moving your HomePod to a new home, reset it to factory settings. To do this, unplug the HomePod, then plug it back in while holding the top of the HomePod until you hear three beeps. Siri will confirm that the HomePod is about to reset after the third beep.
- Remove HomePod from the Home App: Navigate to the “Home” tab in the Home app on your iOS device. Press and hold the HomePod icon until a menu appears. Select “Remove Accessory,” then confirm the removal.
- Set Up HomePod in the New Home: After you reset the HomePod and remove it from the Home app, you can set it up in your new home. Open the Home app and follow the on-screen instructions to add the HomePod. During this process, you must connect the device to your WiFi network and configure any other settings you need.
Follow these steps to switch your HomePod from one home to another and enjoy its features.
Can you use HomePod on a different WiFi?
You can use a HomePod on any WiFi network, including most 802.1X networks and captive networks, like those in hotels or dorms. However, if your 802.1X WiFi network requires a unique identity certificate for each device, you must install a configuration profile so you can connect your HomePod. As a result, you can use the HomePod anywhere and connect to different types of WiFi networks.
What to do if WiFi is incompatible with HomePod?
If you are having trouble connecting HomePod or HomePod mini to your WiFi network, follow these steps:
- Use Your iPhone or iPad’s WiFi Network: When you set up your HomePod or HomePod mini, you connect them to the same WiFi network as your iPhone or iPad. Before setting up your HomePod, ensure your iOS device is connected to the correct WiFi network.
- Forget and Reconnect to the WiFi Network: Use your iPhone or iPad to forget your WiFi network if you receive an alert during setup. You can do this by going to Settings > WiFi, selecting your WiFi network, and selecting “Forget This Network.” Then reconnect to the network using your iOS device and set up your HomePod or HomePod mini again.
These steps will help you resolve compatibility issues with your WiFi network and successfully set up your HomePod or HomePod mini.
How do I check my HomePod WiFi?
To check the WiFi network your HomePod is connected to, follow these steps:
- Open the Home app on your iPhone or iPad.
- Tap the Home icon in the top-left corner to access the Home settings.
- Scroll down and select “Home Settings.”
- Under the “Speakers & TVs” section, tap on your HomePod.
- You should see the WiFi network listed under the “Network” section of the HomePod settings page. It indicates the WiFi network to which your HomePod is currently connected.
Does HomePod work on WiFi or Bluetooth?
HomePod primarily relies on WiFi rather than Bluetooth. Although HomePod has Bluetooth capabilities, it is mainly used for initial setup and certain communication functions. After setting it up, HomePod mainly uses WiFi to stream music, access Siri, control smart home devices, and get updates.
With WiFi, HomePod can provide a more stable and robust connection, providing high-quality audio that seamlessly integrates into your home network.
The Takeaway
If your HomePod is experiencing connectivity issues, your modem and router must function correctly. You can test this by asking Siri a question or requesting music playback. If responses are slow or Siri mentions trouble connecting to the internet, it’s time to change the WiFi connection.
Following the steps outlined above can quickly resolve these problems. It’s important to note that your HomePod needs to be connected to the same WiFi network as the iOS device you initially used for setup.


