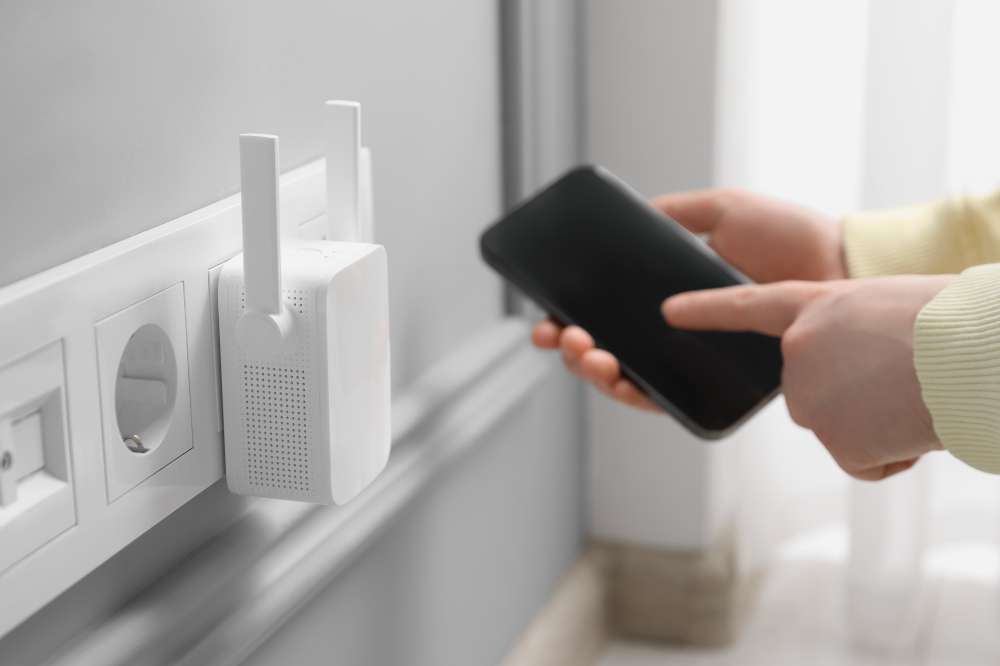
It is possible to connect two WiFi routers without cable to extend the range of your wireless network.
One of the routers acts as the primary device in such a connection, and the second amplifies the wireless signals from the first device. The secondary device is also known as a ‘repeater’ or ‘bridge.’
| Products | WiFi Range | Rating | Dimensions | Data Speed | Check it out here |
| Netgear Nighthawk AX12 | 2500 Sq. Ft | 4.3/5 | 11.7 x 3.07 x 8.3 inches | 11000 Mbps | Link |
| Google WiFi system | 1500 Sq. Ft | 4.6/5 | 4.17 x 4.17 x 2.7 inches | 1200 Mbps | Link |
| TP-Link AC4000 | 1500 Sq. Ft | 4.5/5 | 14.41 x 10.55 x 3.66 inches | 4000 Mbps | Link |
| Gryphon Router | 3000 Sq. Ft | 4.3/5 | 4.3 x 4.3 x 9 inches | 3000 Mbps | Link |
| Netgear Nighthawk R7000 | 1800 Sq. Ft | 4.3/5 | 11.22 x 7.26 x 1.97 inches | 1900 Mbps | Link |
You will need to configure both devices to establish a wireless connection between the two. The general configuration settings are similar for all models, although the details may slightly vary depending on the manufacturer.
Here is a step-by-step guide on how to prime both routers and configure appropriate settings to extend the range of your original WiFi network. With this guide, you can significantly improve the reach of your wireless network and achieve better signal strength.
- Compatible with major cable internet providers including Xfinity, Spectrum, Cox and more. NOT compatible...
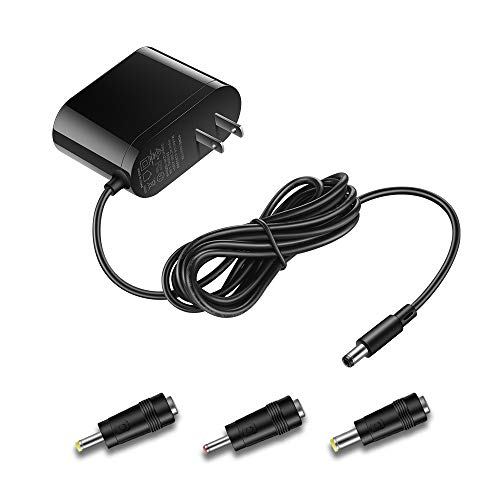
- [Compatibility] 12V Power Supply Adapter Compatible with Netgear, Linksys, Asus,Motorola, Motorola/Arris...
Ready the Equipment
If you want to connect WiFi routers wirelessly, you need to verify that the second router supports WDS. It is also known as ‘repeater’ mode or ‘bridge’ mode.
The manual or documentation for the secondary piece of equipment will confirm whether or not it supports bridging. WAPs that do not support bridging cannot connect to an existing WiFi network as a repeater.
You will also need an Ethernet cable to configure both pieces of equipment separately by connecting them to your PC.
If you are already using WiFi by connecting to the primary device, you don’t need to connect using a cable. You can configure it wirelessly and then use an Ethernet connection to configure the second device.
Configure Your Main Router
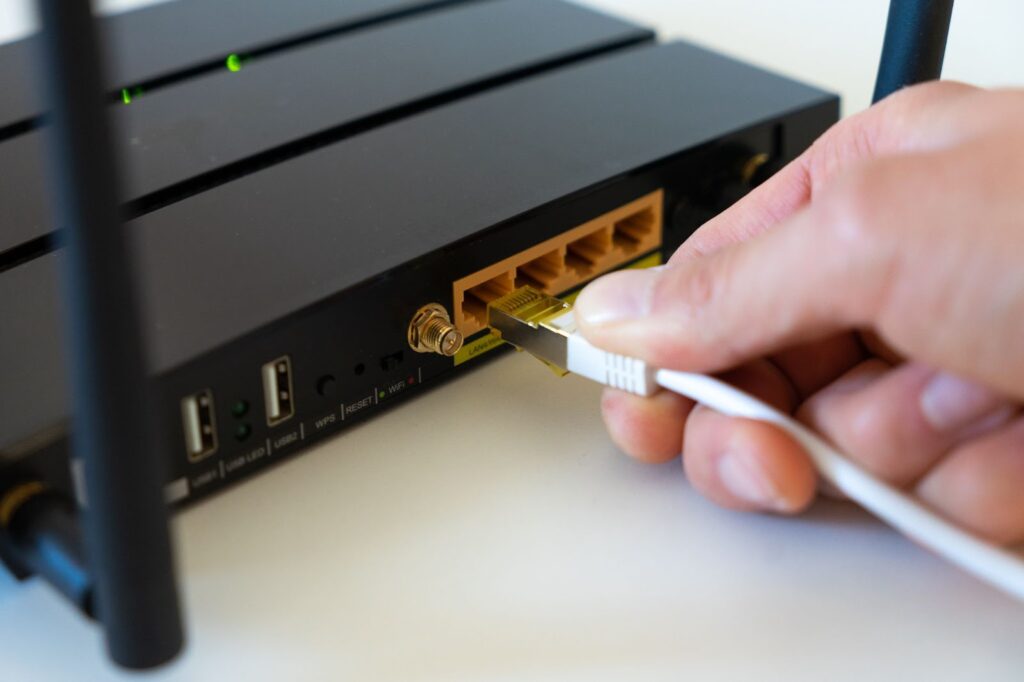
Follow these steps to set up your primary router for a wireless connection with the secondary equipment:
Connect Your PC
You can skip this step if you are already using the primary AP for wireless access.
If not, you will first need to establish a connection with it. Simply connect your PC by plugging one end of the Ethernet cable into your primary wireless access point (WAP) and the second end into your PC.
If your computer doesn’t have an Ethernet port, you can use an adapter. Windows users will need an Ethernet-to-USB adapter for the connection. Mac users can get an Ethernet-to-Thunderbolt adapter for the connection.
Go to Router’s Admin Page
Once your PC or Mac is connected to the WiFi access point, go to its main admin page. You will need the IP address of the WAP for this.
If you know the address, use a browser to navigate to it. If you don’t know the address, you can easily find it out.
For Windows, go to Network & Internet Settings > View Hardware and Connection Properties. Here you can see the IP address next to ‘Default Gateway.’
For Mac, go to System Preferences > Network. Choose the relevant internet connection. Next, click Advanced > TCP/IP. You can view the IP address next to ‘Router.’
You will be prompted to provide the admin username and password on the main admin page. Most APs are set to default login credentials. You can check this list for default login details for most models.
Your ISP may also have provided you with the username and password at the time of installation. Alternatively, you can contact your ISP to get these details.
There is a simple solution if you don’t have the login details or don’t remember them. You can hit the ‘Reset’ button on the device. This restores it to the default login settings.
| Products | WiFi Range | Rating | Dimensions | Data Speed | Check it out here |
| Netgear Nighthawk AX12 | 2500 Sq. Ft | 4.3/5 | 11.7 x 3.07 x 8.3 inches | 11000 Mbps | Link |
| Google WiFi system | 1500 Sq. Ft | 4.6/5 | 4.17 x 4.17 x 2.7 inches | 1200 Mbps | Link |
| TP-Link AC4000 | 1500 Sq. Ft | 4.5/5 | 14.41 x 10.55 x 3.66 inches | 4000 Mbps | Link |
| Gryphon Router | 3000 Sq. Ft | 4.3/5 | 4.3 x 4.3 x 9 inches | 3000 Mbps | Link |
| Netgear Nighthawk R7000 | 1800 Sq. Ft | 4.3/5 | 11.22 x 7.26 x 1.97 inches | 1900 Mbps | Link |
Enable DHCP Server
The DHCP server settings can typically be found in the ‘Network’ or ‘LAN’ areas of the settings. Make sure the DHCP server is enabled.
If you are already using your primary device for wireless connectivity, the DHCP server should be enabled. However, it is still important to check and make sure. If it is being configured for the first time, you will almost certainly need to adjust the settings and configure the DHCP server.
Note Important Router Details
Now that you have logged into the device, it is time to find and note important details. You will need these details when configuring the second WAP:
- SSID and Password of your primary WAP – You can find these in the WiFi or Wireless settings.
- Main IP address and subnet mask – The main IP is the one you used to log into the router. The subnet mask looks like 255.255.255.0.
- Range of IP addresses used by the DHCP server – You can find this in the DHCP settings.
- MAC address of the primary WAP – This is needed if your secondary router is not the same brand as the primary one.
- Security mode – This is WEP, WAP, WAP2, or something similar.
- Band frequency – This is 2.4 GHz or 5 GHz for most devices.
Save Changes
Your primary router is now all set for a wireless link with the secondary router. You can save all changes you have made in the configuration settings and then unplug it from your computer.
Connect Your Second Router
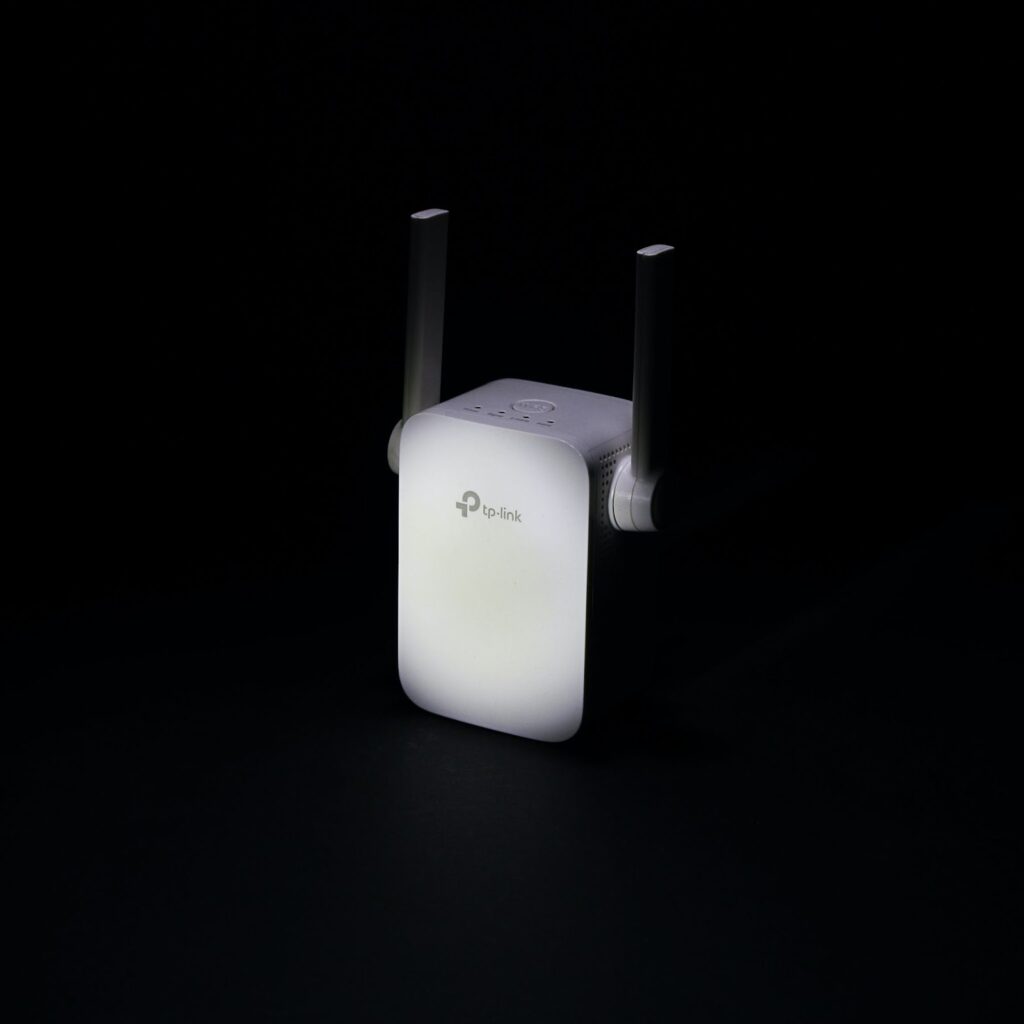
It is now time to set up your second router to link it with the primary device. Here is a step-by-step guide:
Connect Your PC
As with the first device, you will need to establish an Ethernet connection first. This allows you to access the hardware and alter its settings. Make sure you turn off the WiFi at this point to prevent a connection with the primary device.
Go to Main Admin Page
Follow the same steps as stated above to find the router’s IP address and navigate to its admin page. If you have a problem logging in, ‘Reset’ the device and use default login credentials to gain access.
Enable Bridging
To establish a link with your primary device, you must enable bridging on the secondary hardware.
To do so, go to the Advanced settings of the AP. Depending on your router, navigate to the ‘Internet,’ ‘Network,’ or ‘Wireless’ page.
Here you will see one of the following options: ‘Wireless Mode,’ ‘Network Mode,’ or ‘Connection Type.’ If you don’t see these exact options, look for something similar.
You will next see the option to turn on ‘WDS Bridging,’ ‘Repeating Mode,’ ‘Bridge Mode,’ or ‘Wireless Repeater.’ All of them essentially mean the same thing. Enable this mode to turn on bridging for your second router.
Add Details from the First Device
Remember the details you noted down from your primary router? It is now time to add them to your secondary device.
You will be prompted to enter these details on the same page where you enabled bridging. Make sure you enter the following details from the original router:
- SSID and Password
- Default Gateway or main IP address
- MAC address
- The IP address that is similar but not the same – If the first device has an IP address of 192.168.2.1, you can set the second device to 192.168.2.2.
- Subnet that is the same as the first device
Set Up Wireless Connectivity
Your second device is now ready to receive signals from the first device. You must enable wireless connectivity for this secondary router to make sure it can establish a link.
To do so, assign a network name (SSID) to the second router. The password you set for this device must be the same as the original one. Also, make sure you select the same security method and frequency.
Connect the Two Devices
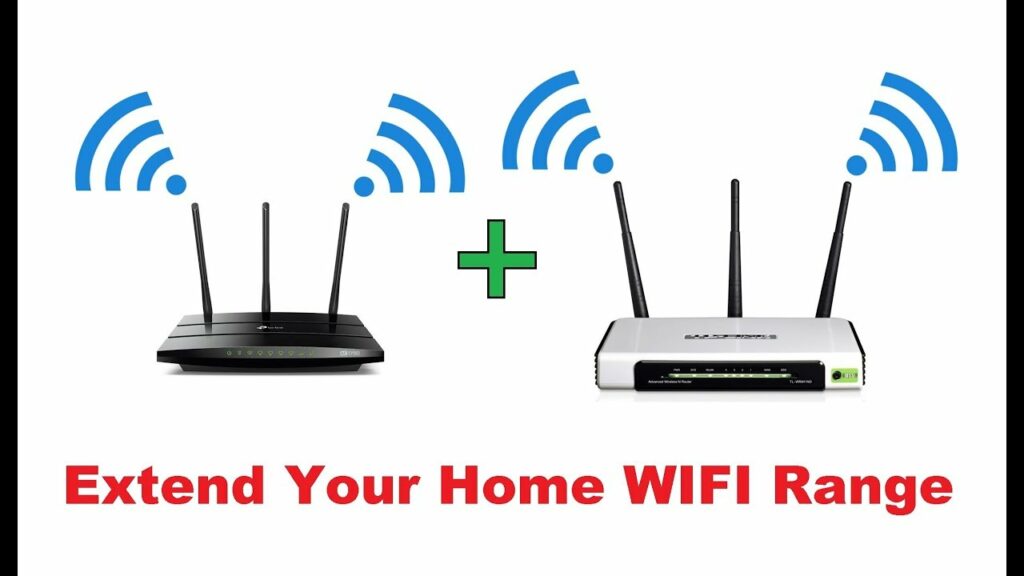
Youtube Tutorial: https://www.youtube.com/watch?v=qDdr5k-7S6Y
Now that you have configured both devices, you can bridge the two WiFi routers without a cable.
If both devices are of a recent model, you can do so by simply pressing the WPS button on both. It will automatically establish a wireless link between the two.
If your devices lack the WPS button, you can use the configuration settings in the bridging section of your repeater device. Once you save configuration changes, the router will reboot. This will reassign the new IP you provided to the second device and establish its connection with the first device.
You can now wirelessly access your secondary device, see if it has wireless access, and run some checks to determine signal strength and internet speeds. The location of your secondary device will impact these factors.
The Importance of Location
The ultimate purpose of adding a bridge or repeater to your original wireless connection is to amplify its reach and quality of signals. If the second device is not suitably placed, it may not offer any benefits.
The ideal location for your secondary WAP should meet the following criterion:
- Close enough to the original router to receive good wireless signal strength
- Far enough from the original device to extend its range significantly
- Ideally located in an open space with minimum physical obstructions
- Situated at a height to achieve better signal transmission
You can test different locations for the second router to see where you get the best results.
Conclusion
WiFi connectivity between two routers is a quick and easy way to improve signal strength and extend range. By configuring the two devices, one acts as the primary access point, and the second device becomes a bridge.
You can also set up a connection between two APs using a cable. However, it requires a lot more effort, and you need a cable to run the full length between the connected devices. Wireless connectivity, on the other hand, offers a more convenient, effective, and easy-to-setup solution.


